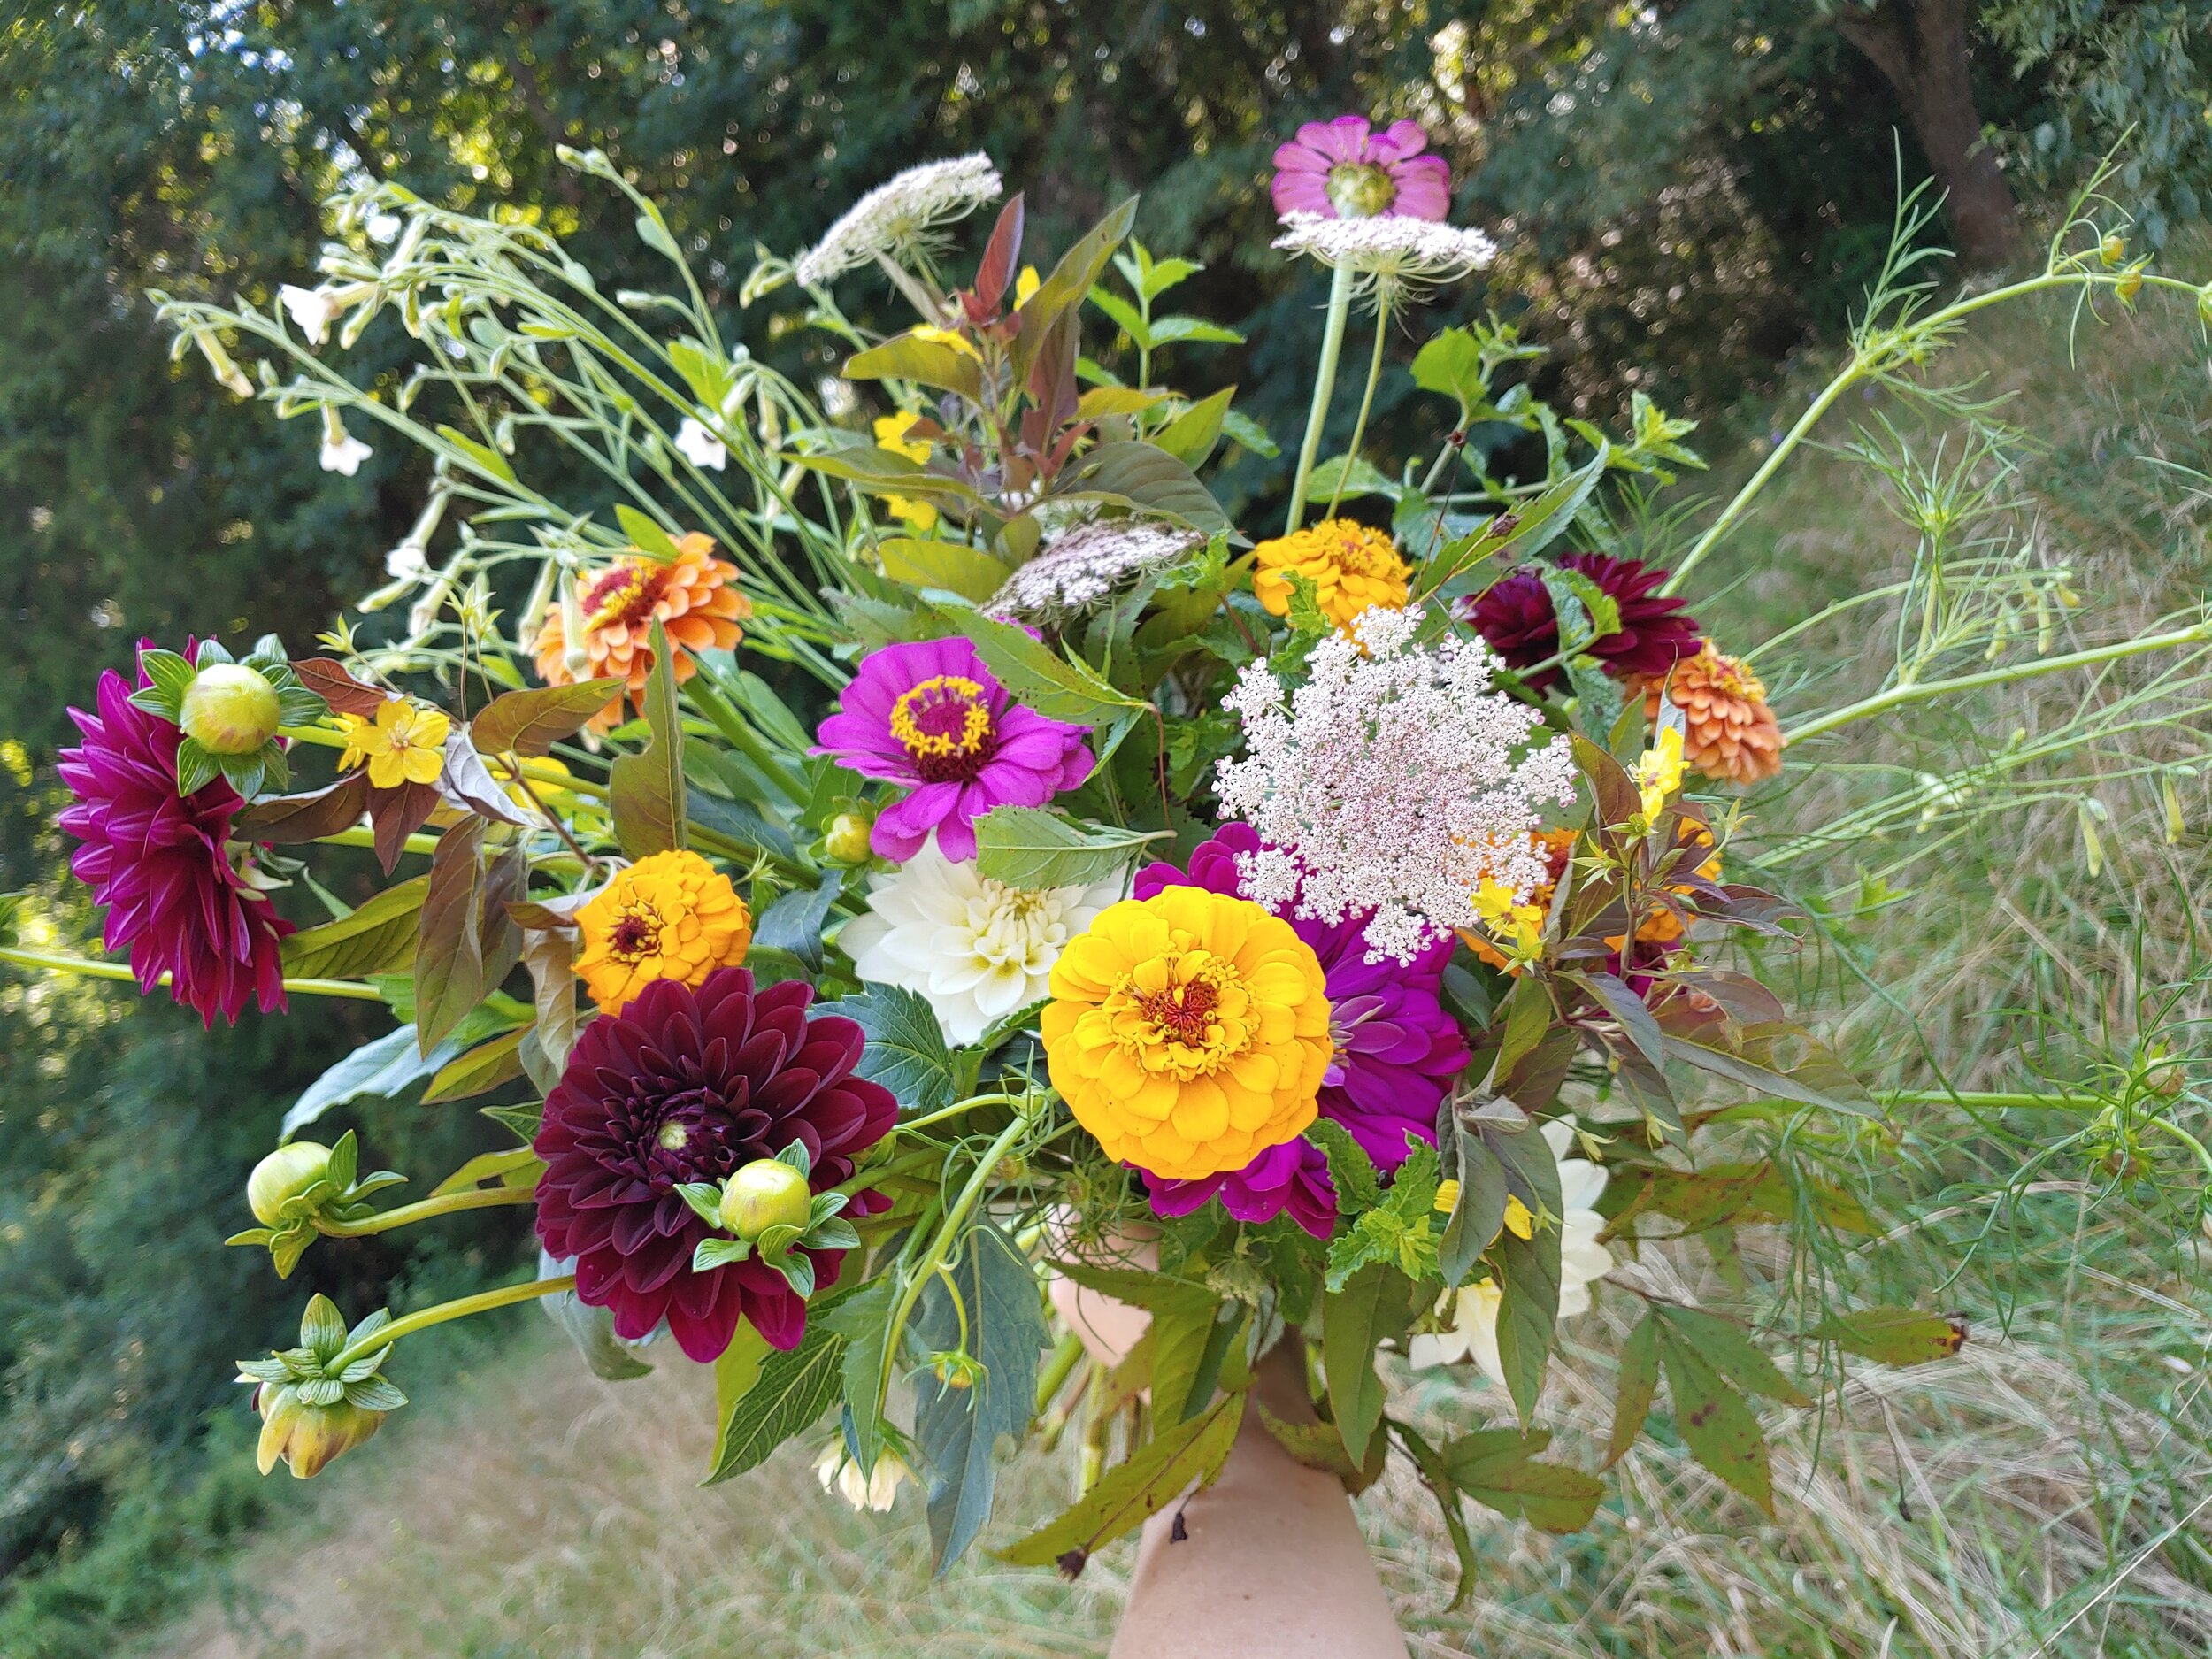
Dahlia Parade!
Do you remember the old Fred Astaire movie, Easter Parade? The namesake song where he strolls down the boulevard with all the ladies decked out in finery and flowery hats always reminds me of a garden full of big blousy dahlias.
Let’s have our own Easter Parade. A few weeks back, I asked you to send in pictures of your gorgeous blooms. I got some stunners so without further adieu:
Thank you so much for sharing your gorgeous pictures. Have you always wanted to grow dahlias like this? Give it a try for 2022! It’ll be the year of the dahlia. Our Dahlia Lovers Newsletter will teach you everything you need to know. Sign Up Here! Then go grab some tubers in our Pre-Sale going on now or in our Main Sale on New Years Day.
The Midsummer Malaise
Have you looked at your dahlia plants this summer and thought: What is going on with my dahlia? It looks awful!
You may be suffering from what I call “The Midsummer Malaise” (TMM). TMM isn’t an official disease or anything like that. But it’s a common issue I see on Dahlias at least once a summer, especially if you live in a hot climate.
Usually it looks a little something like this. Brown crunchy or soggy (if it’s been wet) leaves or perhaps yellow leaves if you catch it early. These are signs of stress. Ideally dahlias love more moderate cooler temps- 60-70’s. Well most places don’t get those until Fall. But in order to have dahlias in the fall, you have to grow them through the summer. So you have to get them through the heat.
So what do you do about it?
1. Clean up the plant. Remove any brown, yellow, crunchy dead leaves— anything that’s not green and luscious.
They should look like the picture below. Some growers actually pre-emptively remove all the foliage on the lower 18” of the plant. But I find that’s a lot of extra labor for 2200 plants. So I remove it where needed.
2. Inspect the plants for any sign of disease- especially powdery mildew. PM looks like a white dusting on your leaves- when it starts, it can occur just in small spots on the leaves. We’ll talk more about how to deal with PM another time. For now just notice if the plants don’t look “normal.” And by normal I mean, they should be solid green - dahlias don’t have any variegation in the leaves. It’s very slight in the photos below but those lighter greenish yellow patches are a tell-tale sign.
If you see sings of yellow mottling, then you are going to want to investigate further. That could be a sign of disease or nutrient deficiency. I tend to treat for nutrient deficiency before assuming disease unless I see any other tell-tale signs of disease.
3. It’s time for a little TLC. Dahlias are pretty hungry and need to be fed regularly to perform well. So it’s time to fertilize.
The type of fertilizer is going to depend on the stage of growth. If your plant is less than about 6 weeks old then a fertilizer that includes a bit of nitrogen is good. Dahlias don’t need loads of nitrogen. Nitrogen promotes green growth. Generally you are looking for a fertilizer that is higher in phosphorus and potassium. This is a good time to know what nutrients your soil contains (hence the reason you always hear gardeners talk about taking a soil test).
***But I know most of us didn’t stop and soil test this spring. (Don’t feel bad, I didn’t test for several years when I started gardening). You can test this fall and you’ll be ready for next year!***
So if you don’t know what nutrients your soil is low in, you do fly a little blind. But since we know that dahlias like phosphorus and potassium, we’ll look for that. Fertilizers that are made for tomatoes or roses are also good for Dahlias. I encourage you to seek out an organic fertilizer. Also I prefer liquid feeds at this point. I use a powdered/granular fertilizer when planting but prefer liquid during the growing process. I just find it easier to apply. (Brands differ from place to place and that’s why I feel it’s more important to tell you what to look for in the fertilizer than an actual name brand.)
Feed your dahlias (according to the instructions on your fertilizer) about every other week from now until about a month before your first frost date.
4. Lastly, make sure your dahlias are getting plenty of water. You can’t do anything about high heat but you can control the moisture. I try not to let my soil completely dry out. You do want to make sure you have good drainage though. Dahlia tubers don’t like sitting in mucky wet soil.
The Midsummer Malaise is bound to get you at some point and some years it is more extreme than others. But it doesn’t have to spell a death sentence for your plants. It just means it’s time for a little garden therapy for you and TLC for your plants!
Tips for a great Summer Cut Flower Garden
It’s time to get planting! Here are my top tips to have a great cut flower garden this summer:
Pinch your plants. Most summer cut flower annuals need to be pinched. Pinching means you cut the plant back when it’s between 12-18”. Cut back to 3-4 leaf pairs- cut right above a leaf pair. Some plants that benefit from pinching are: Cosmos, Zinnias, Dahlias, Celosia (not the brain types), ageratum, Gomphrena and Eucalyptus. Pinching causes the plant to branch giving you more stems to cut and a bushier appearance to the plant.
Space Correctly. 9” is a good spacing for most cut flower plants. This allows the plants room to grow but also forces them to grow more upright so they produce nice long stems. You can go a little closer on some things but you have to watch more closely for disease issues b/c they can spread rapidly with closer plants. Also grouping your plants to the same variety in a cut flower garden aids their growth habits. Remember cut flower gardens are for producing stems and not necessarily for aesthetic plant placement.
Support your plants. Flower farmers often use a product called Tenax Hortonova netting. This is a horizontal support netting that comes in various widths. You can buy it online from most plant/greenhouse supply places. Use rebar stakes - these work better than wood if you have heavy clay soil. They also last longer than one season. Install your support netting while the plants are small- much easier than waiting until they are sprawling all over the bed.
Water, water, water! Make sure you are giving your plants adequate water. In order to produce abundant blooms, plants need water! Good drainage is also key. Most cut flowers don’t like to have their roots sitting in mucky wet soil. A small garden style irrigation kit is a life saver in the summer time. The time it will save you is worth the money. Not to mention the peace of mind while you are on vacation.
Feed your plants. Most soils in our Upstate area have decent nutrition but plants can use it up. So once a month, top up the nutrition in your beds with a liquid fertilizer. I recommend the Neptune’s Harvest brand. Fertilizers that work for growing tomatoes work well for flowers too! Cosmos are the exception though— if you give them fertilizer, they will make lush green plants with no blooms. Cosmos actually prefer poor soil.
Limit your use of pesticides. Most summer cut flowers don’t attract major pests. And if they do, the pest usually has a life cycle and is gone within a few weeks. I recommend adopting a wait and see approach. This means not reacting immediately when you see a pest. Do this instead: Research- find out what the pest is, make sure you can identify it correctly. Read about it and learn what it’s predator’s are, learn how to attract them. Water sources in your garden are one of the best ways to attract predators. They attracts birds and they are some of the most useful predators. Remember if you want a garden without harmful pesticides that you means are looking to strike a balance. You have to accept some bad bugs b/c without them the good bugs have nothing to eat and therefore won’t come to your garden. A few nibbles on your petals are a small price to pay for a chemical free garden.
So there you have it— some great tips for a successful cut flower garden! I look forward to seeing your flower photos this summer!


